
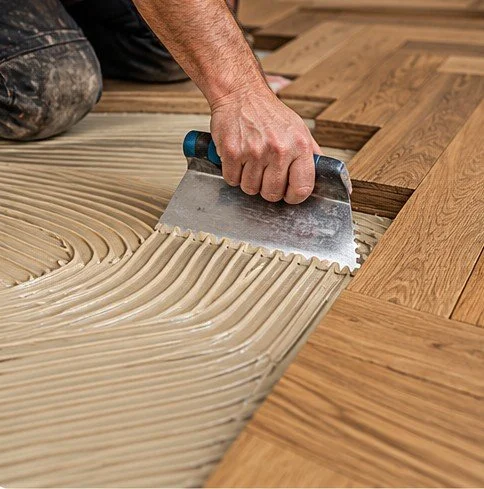
Installation &
Subfloor Preparation
A well prepared subfloor is essential for a successful installation. This guide introduces the main preparation checks and installation methods used with solid and engineered wood flooring, helping you understand what matters before fitting begins.
Professional installation

Proven methods from real
onsite experience
All subfloor types

Concrete, timber, screed
& more
Moisturte control

Testing and preparation to
prevent problems
Underfloor heating

Suitable installation methods
& advice
Why subfloor preparation matters
Wood flooring needs a suitable, sound and sufficiently flat base. Problems hidden beneath a floor can lead to movement, unevenness, hollow-sounding areas or premature failure.
Common subfloor types
Different subfloors require different preparation. Below are the most common types we work with.
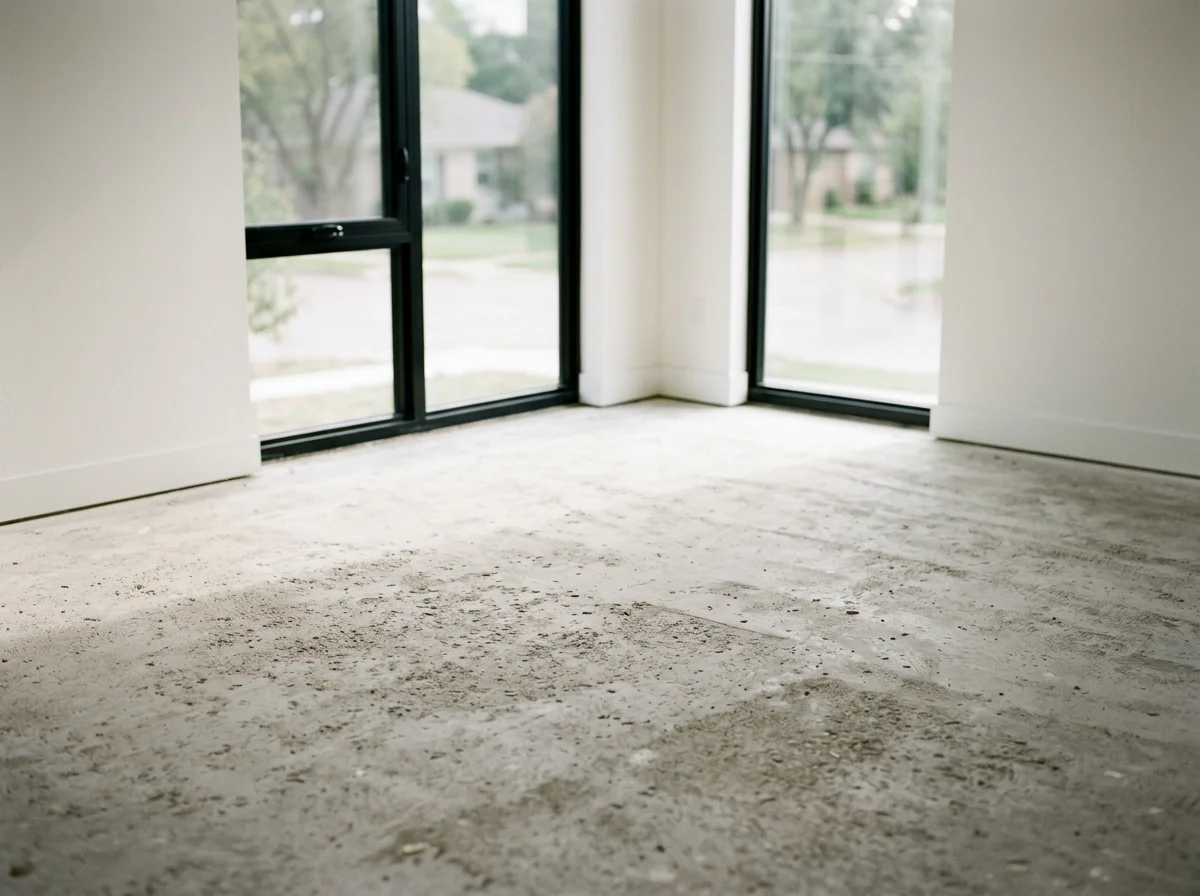
Concrete
Must be clean, dry and level. Use moisture testing, primers and leveling where needed.
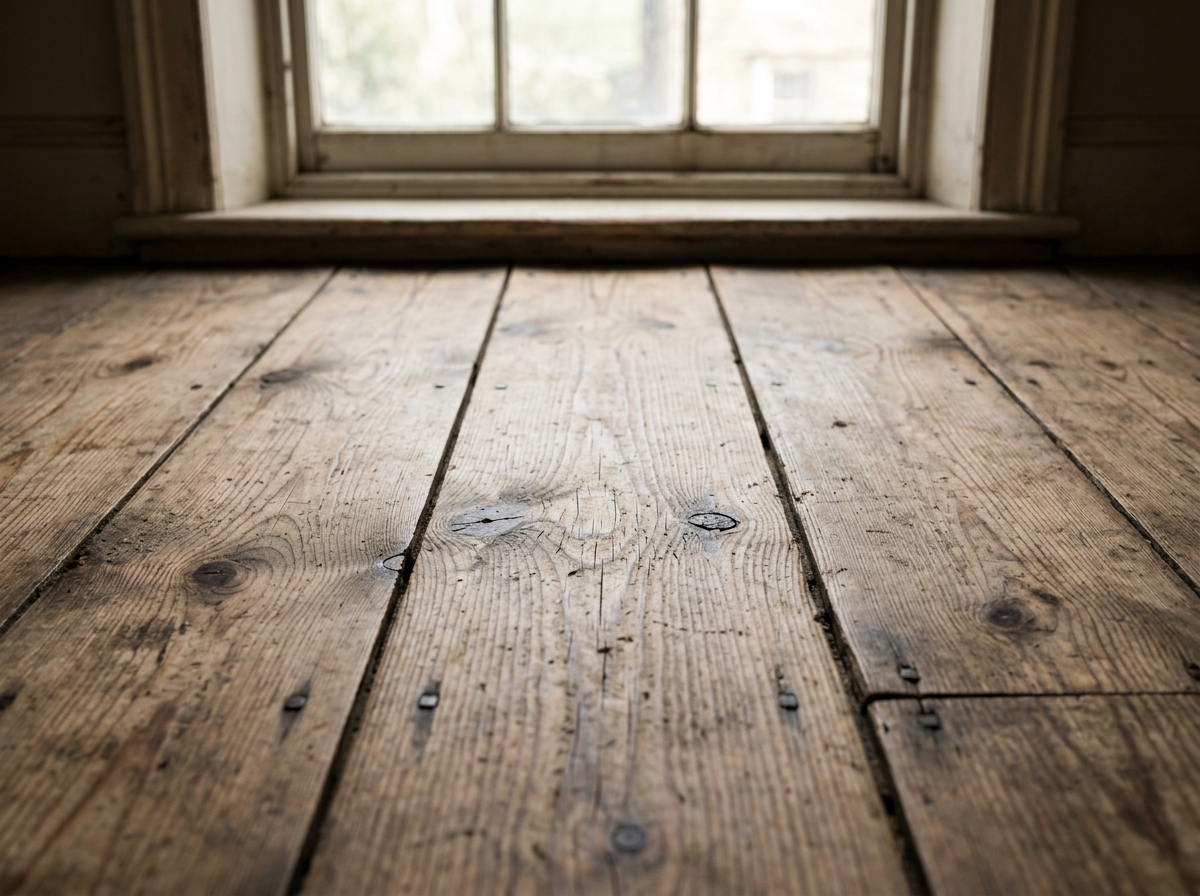
Timber
Existing timber floors should be checked for strength, movement and moisture.

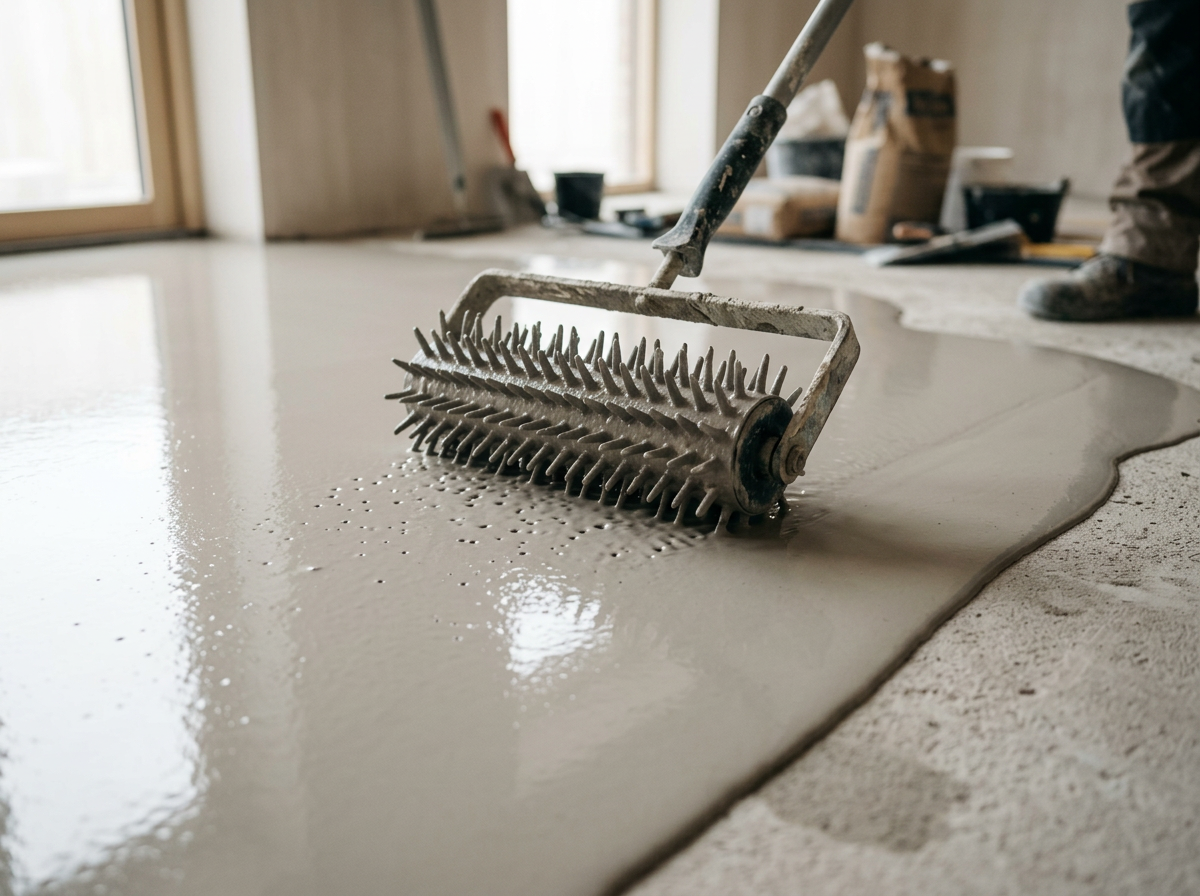
Screed
Liquid screeds must be fully dry and tested for moisture. Levelled if required to achieve a smooth, flat surface.
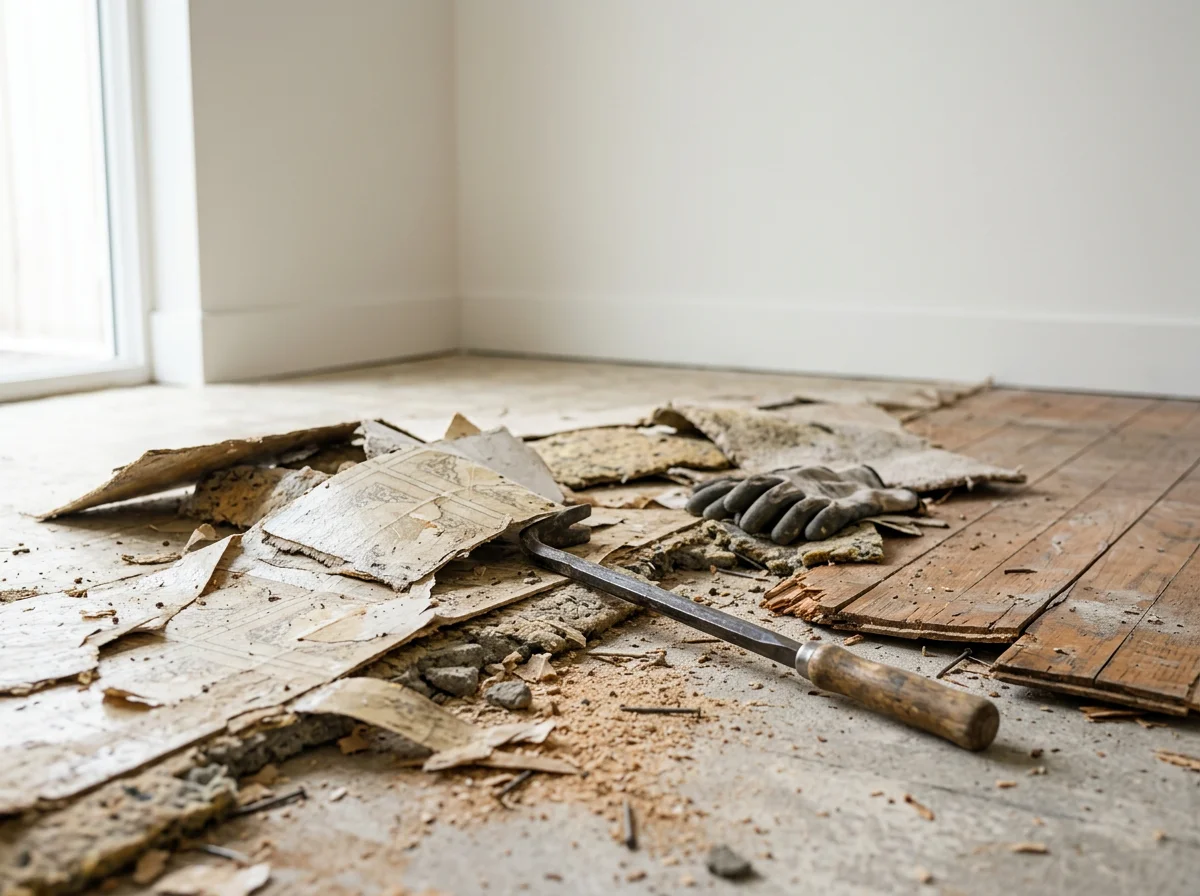
Exisiting Flooring
Tiles, vinyl, carpet or old wood floors are usually removed to create a clean, stable surface.
Embracing natural characteristics
These natural features are not defects, but part of the beauty of a real wood floor. They give each floor its own unique look and add warmth, depth and authenticity to your space.

A modern look
Prime and Select grades offer a cleaner, more consistent appearance, ideal for contemporary interiors.
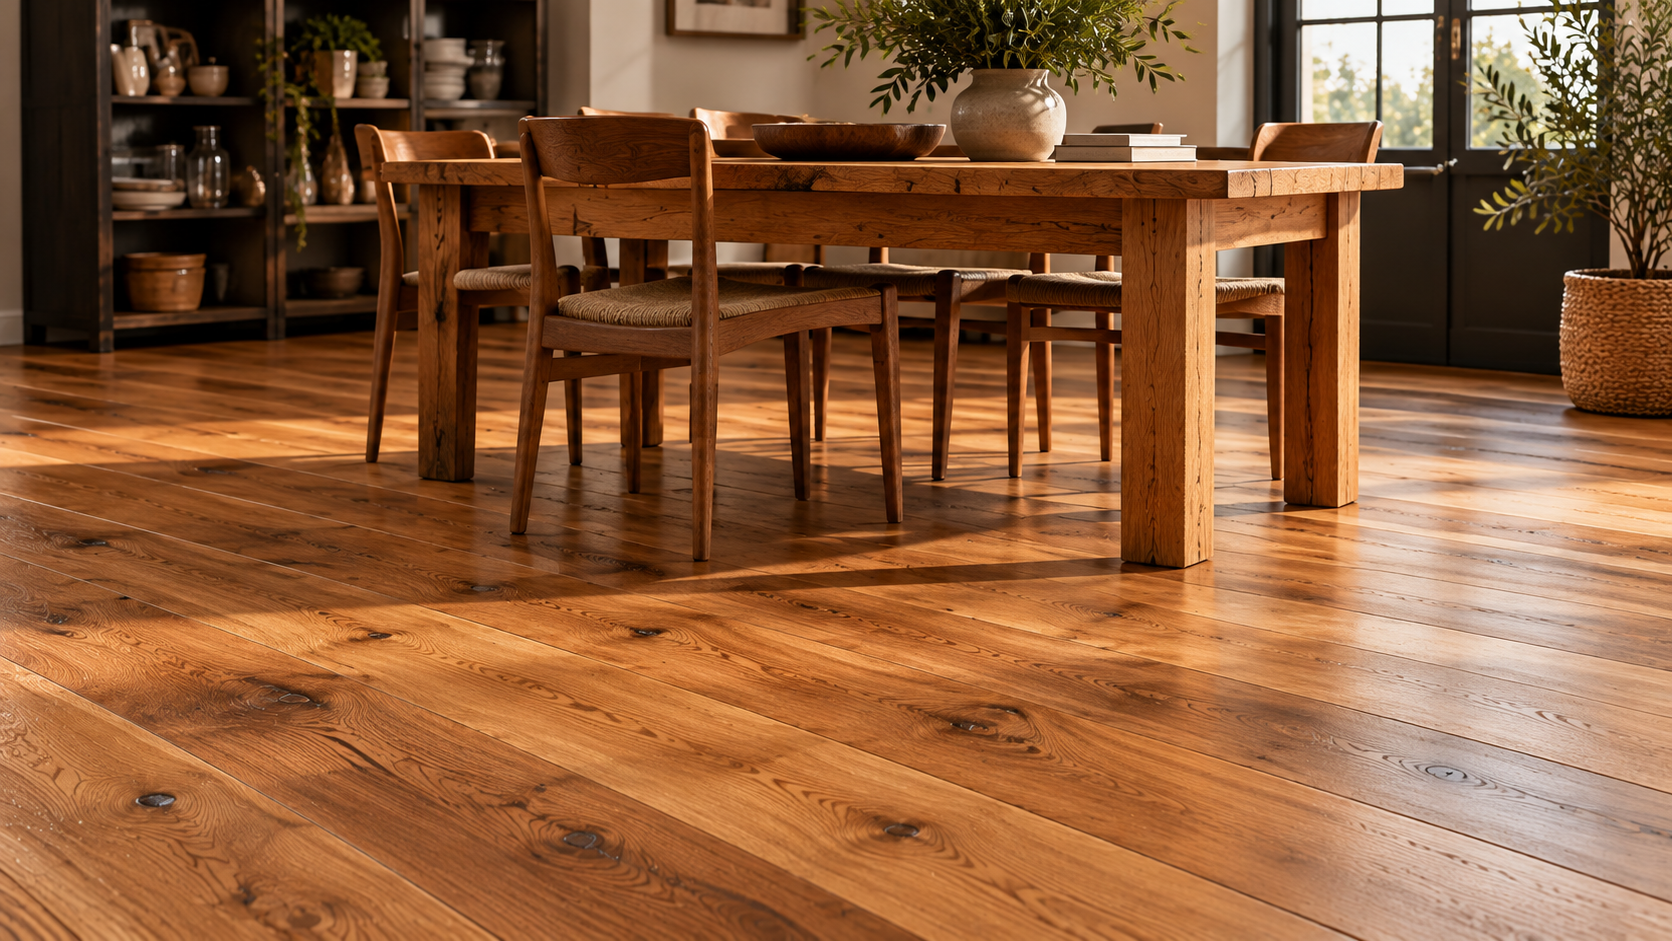
A traditional look
Character and Rustic grades bring out the natural beauty of the timber, with more knots and colour variation.
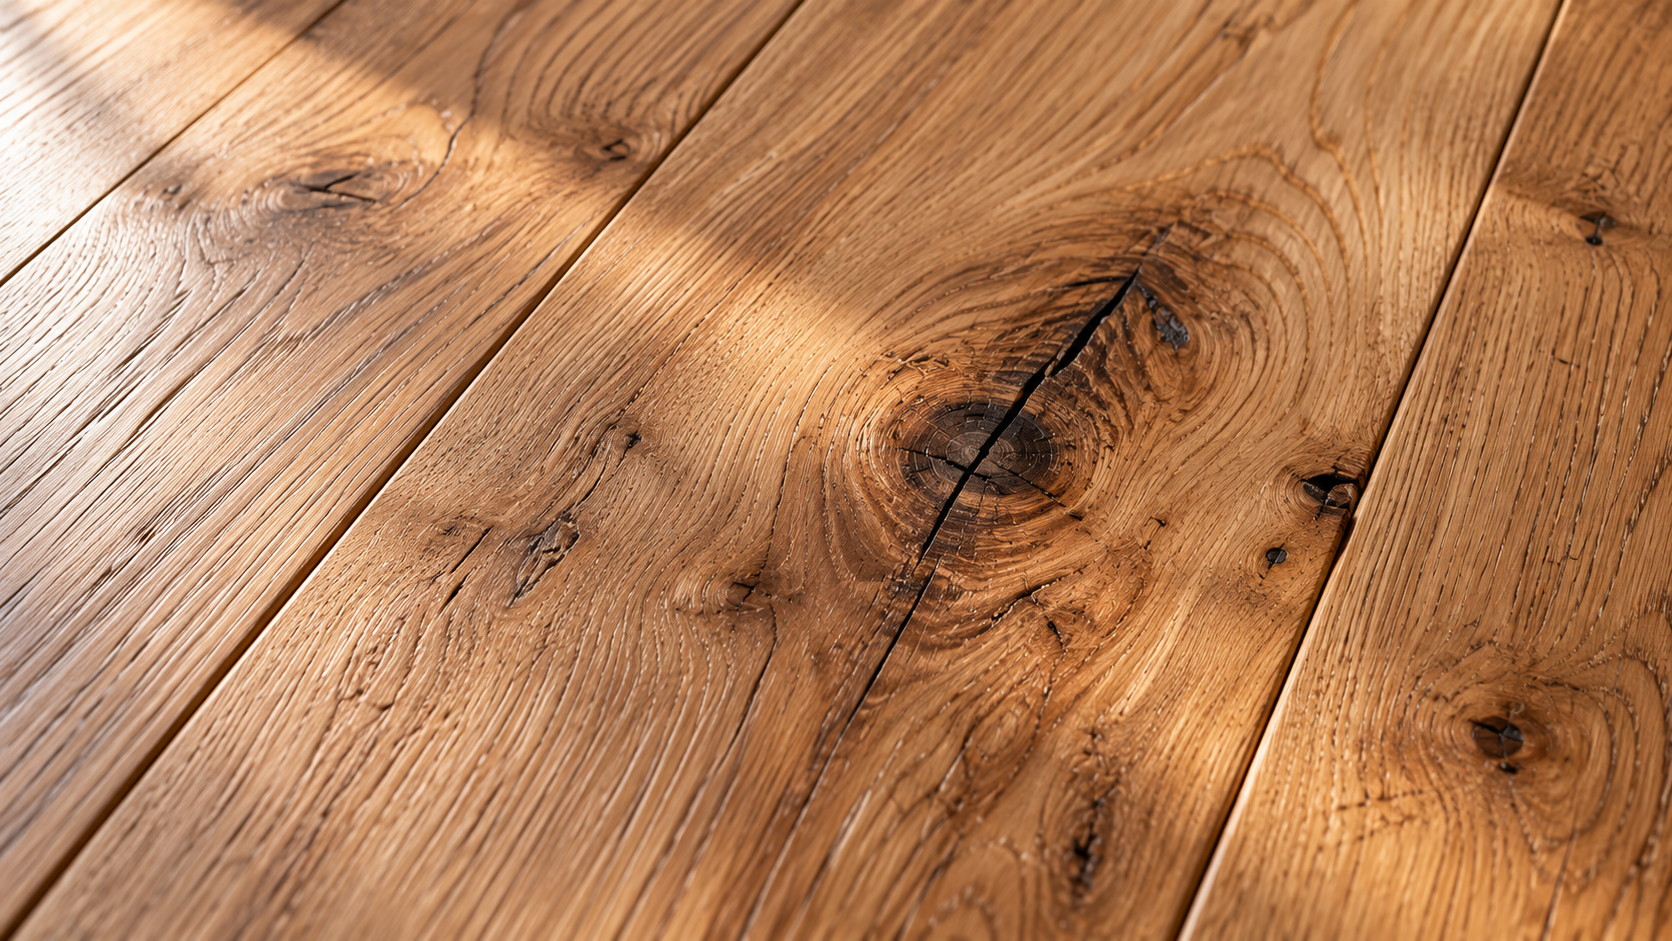
Unique and individual
The natural variation in wood means every floor is unique, creating a one of a kind look for your home.
Need help choosing the right grade?
We’re here to help. Get in touch for independent advice, samples or to discuss your project.